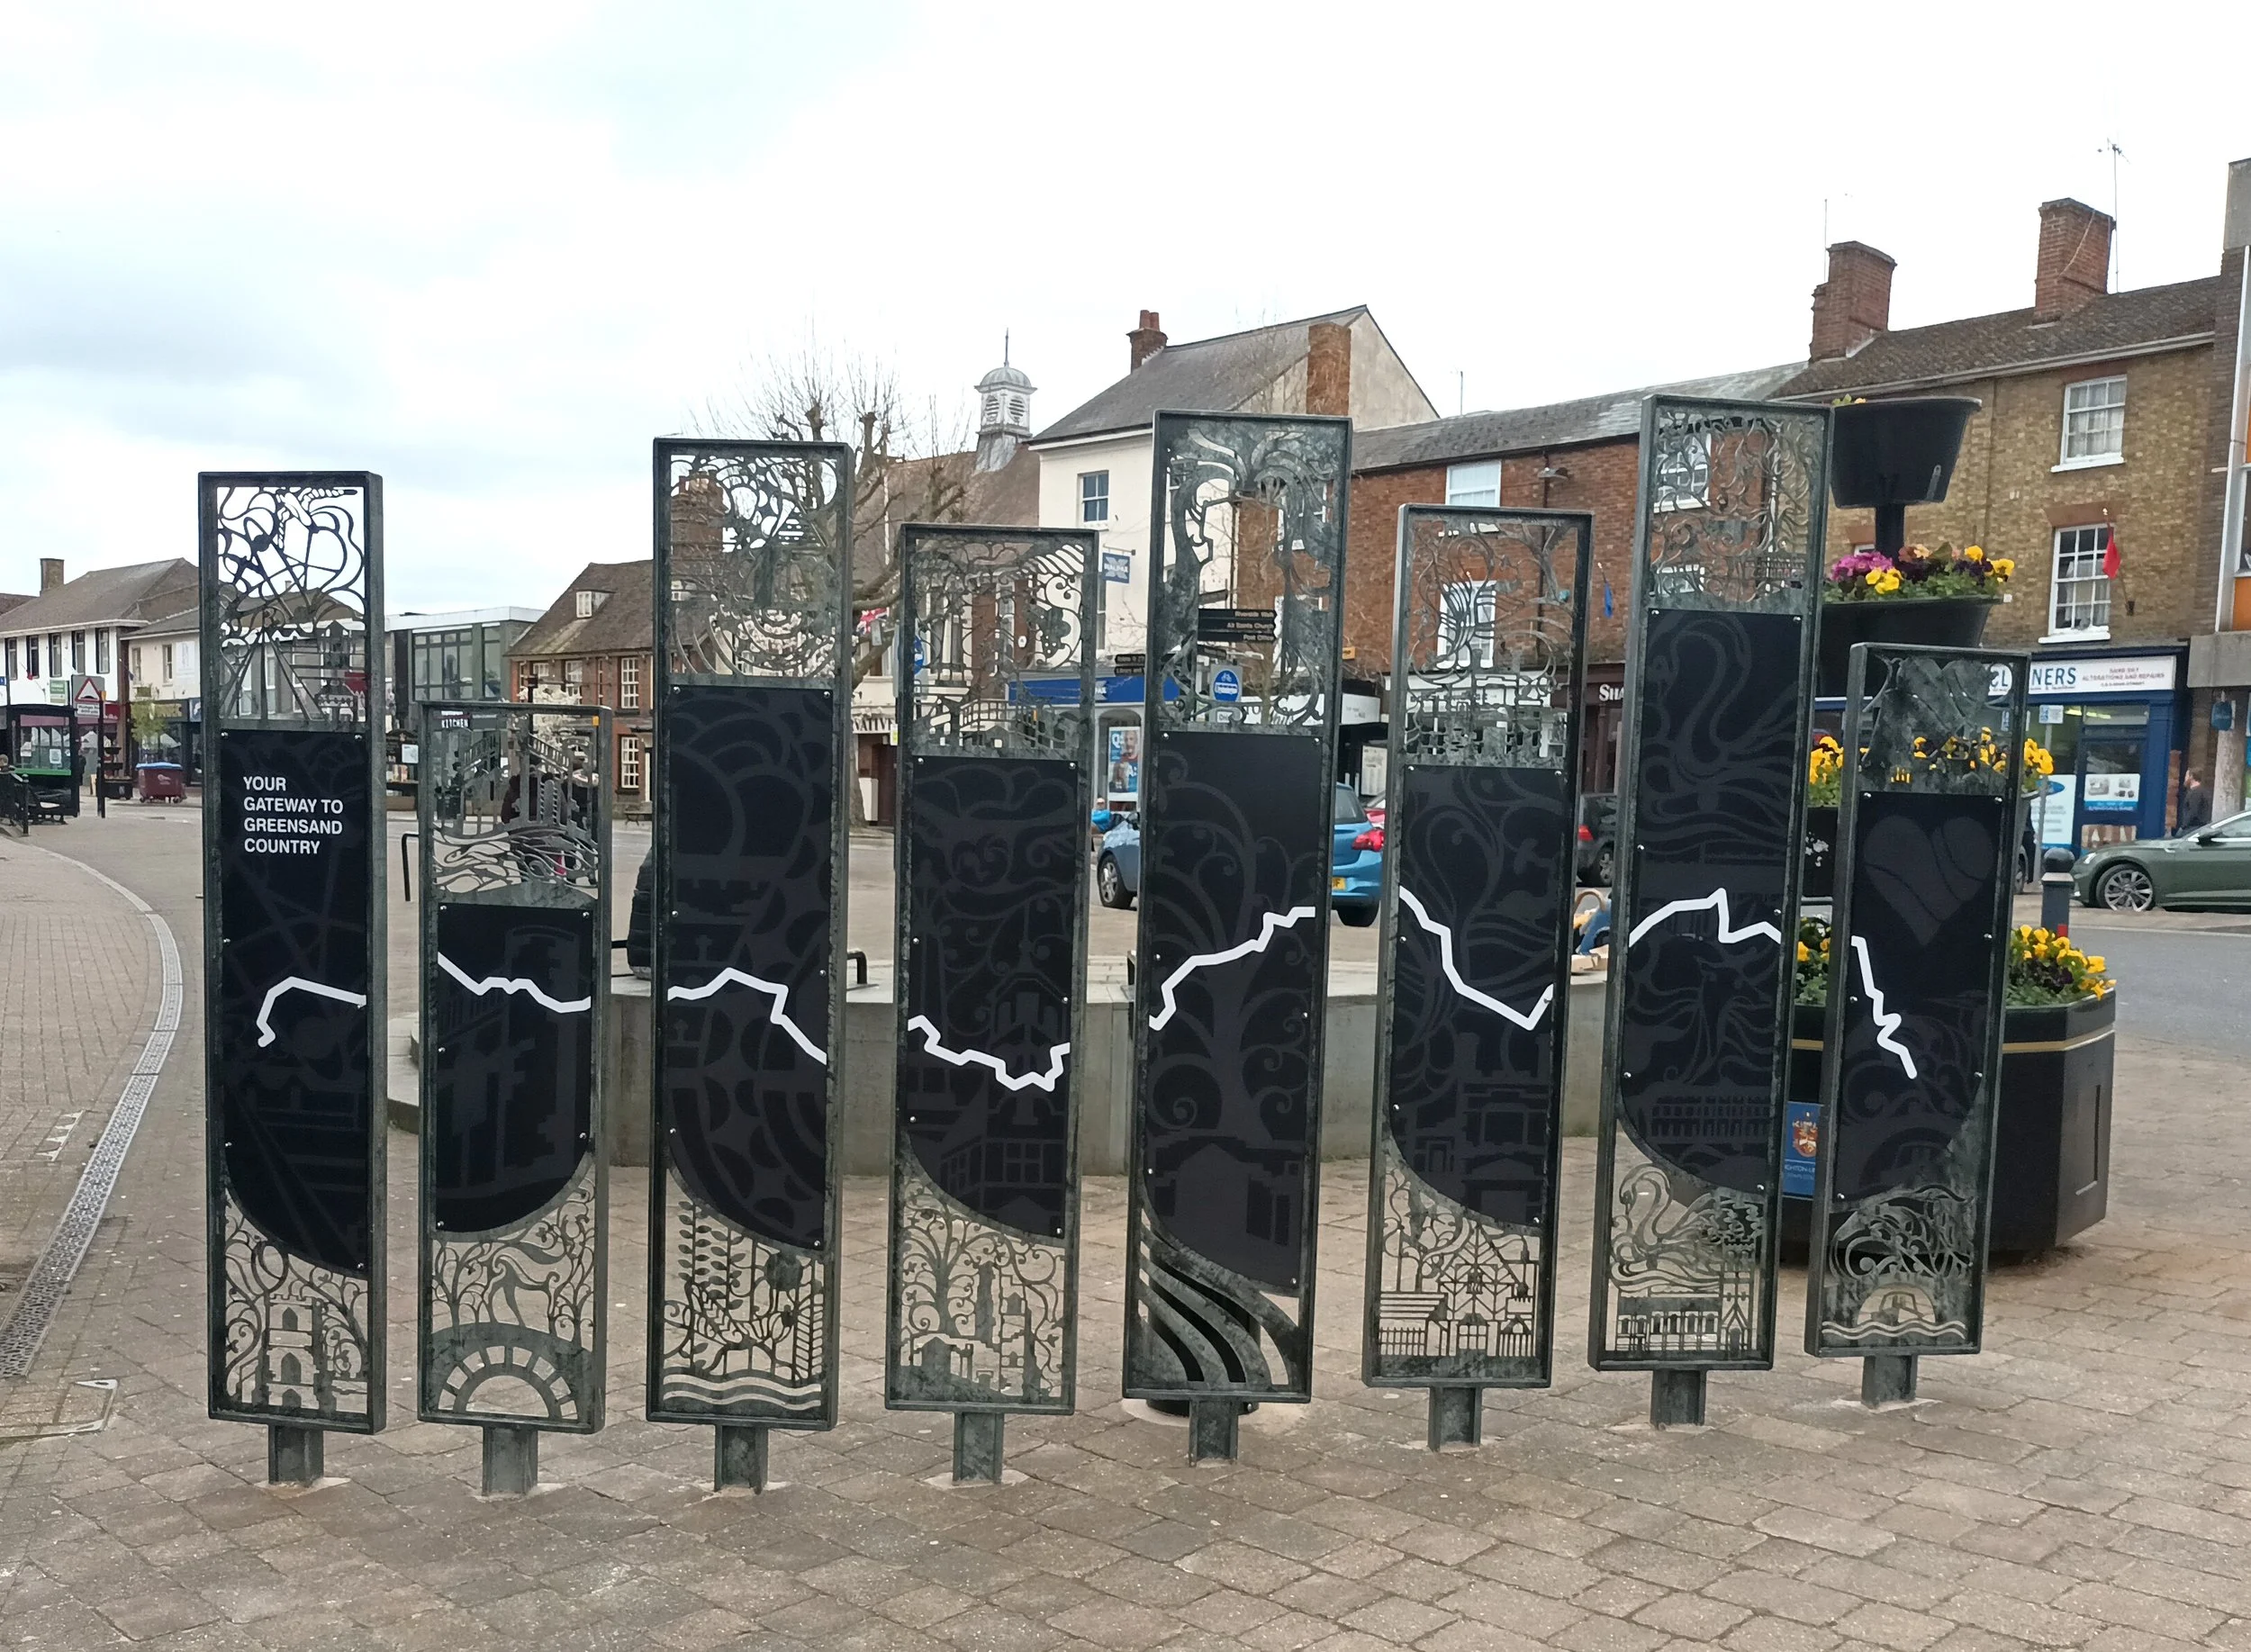
And now the project is finished - the water is being connected into the water filling station and the artworks are installed. We hope that this artwork provides a sense of place and creates an expression of the landscape and journey through the Greensand Way.
The back of the artworks have a textural pattern with the route of the Greensand Way printed on the aluminium panels.
We have created a SIGN that is a SCREEN that is INFORMATIVE and PLAYFUL.
It is made up of laser cut images of the icons and landmarks of the places that make up the Greensand Ridge. The artwork includes the official Greensand Ridge map and is split into sections that allow the viewer to gain an understanding of the different sections that can be undertaken.
Presentation drawing of the Lollipops of Leighton Buzzard
Daylight shows through the laser cut elements which helps to create an artwork that is light and breezy and provides an eyecatching addition to the town centre of Leighton Buzzard. Each lollipop can be postioned at an angle allowing the suite to follow a curve that mirrors the that of the seating nearby. People can, thus, sit and view the screens and absorb the rich variety of natural and built heritage on offer along the Greensand Ridge.
The artwork relies on imagery rather than words and provides an accessible and inclusive perspective of the Greensand Ridge.
The back of the Lollipops of Leighton Buzzard
The signs are now being fabricated in steel. But how was it done? A few trade secrets here ……. firstly I started with ideas and sketches in my Seawhite of Brighton Sketchbook - a big block of a sketchbook - my absolute favourite.
Scan from my sketchbook of the lollipops of Leighton Buzzard
I spent a lot of time researching the area and as this was during Covid I was unable to make a site visit for a little while. Later when I could visit the sites it was case of checking that my ideas were based on what the landscape was telling me.
My sketches are done in fountain pen - usually a Noodlers Ahab, Lamy Alstar and Sailor Shikori - the ink is Noodlers Bulletproof black.
Some ideas and research for the Lollipops of Leighton Buzzard.
Once the sketches are done it is over to the inking phase. Well not actual ink and this is where things become really fun. I use Concepts App on iPad Pro for the development of the designs and for the inking phase. Concepts allows me to draw as if I was drawing on paper but with the added benefit of being able to draw to scale and to trace my sketches and move things around. In the old days I would do this with ink - then scan and trace in Illustrator.
Concepts App allows me to trace, redraw and its infinite canvas allows me to create drawings at a large scale.
Once the drawings are complete in Concepts I upload to Adobe Illustrator and from there it is a simple process of combining the images with a frame. I then rasterise the whole thing and then vectorise it - this simplifies all the different elements into one flat easy to edit vector. Once I a happy with the curves and pieces of laser cut artwork I export as a DXF and hand off to the laser cutters or fabricator - in this case it is Chris Brammall of CB Arts who I have worked with for over 20 years.
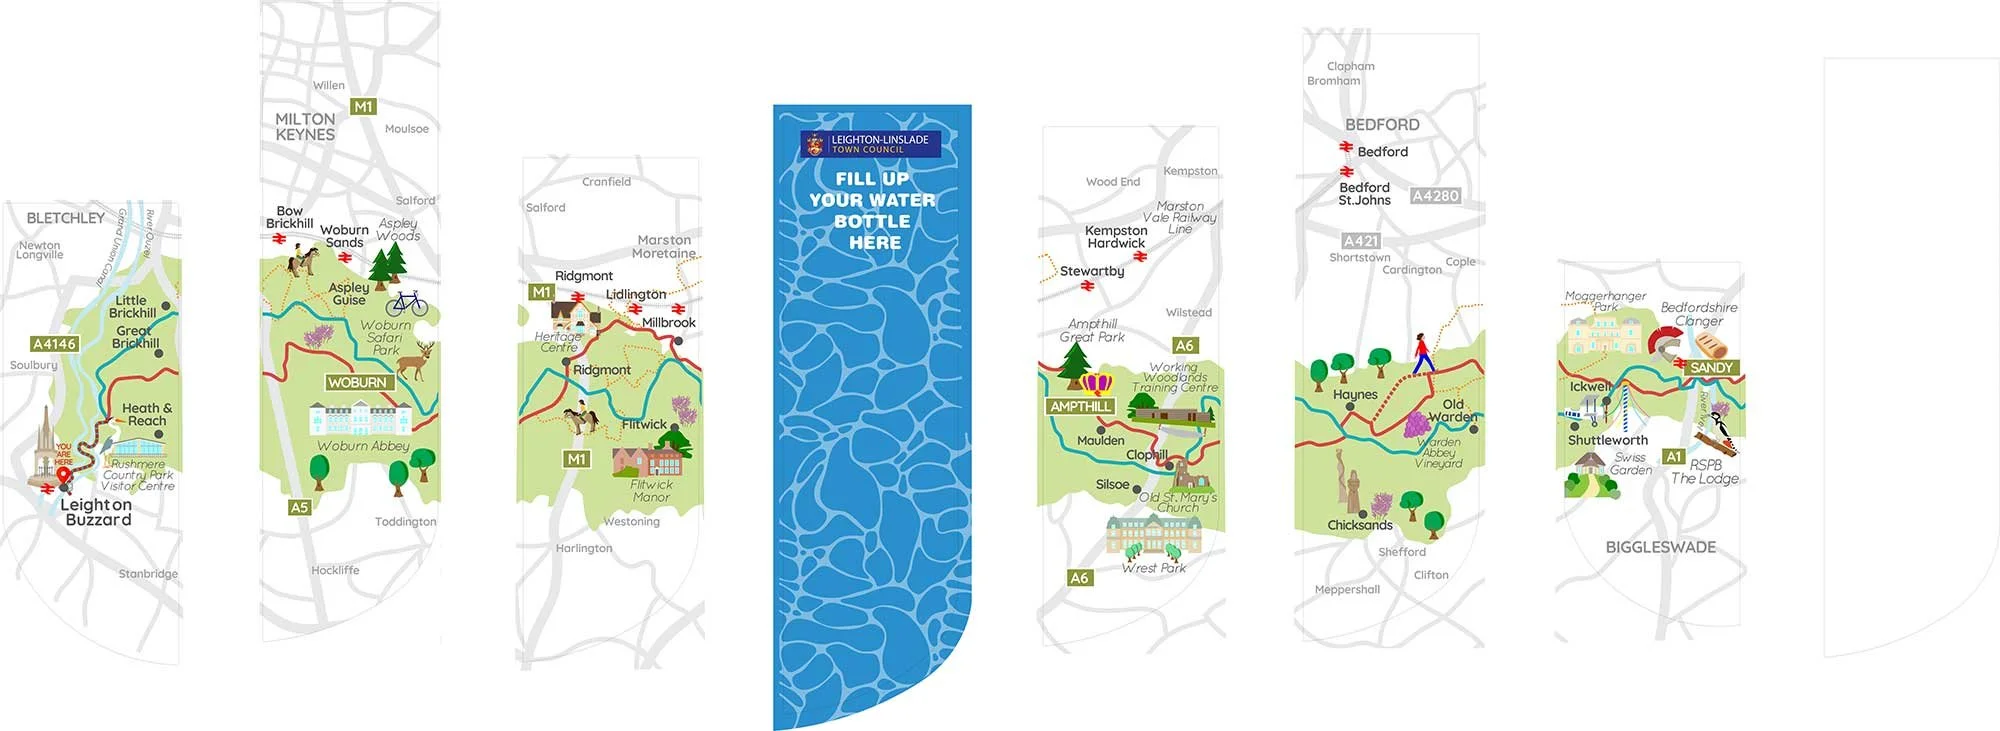
The final design will have maps created by Cute Maps
The final signs will have maps created by Cute Maps which show each section of the route along with its iconic landscape features top and bottom. The integral water filling station is backed with a large watery image and laser cut water bottle.
Once I was able to visit the site I checked the locations along the route but also engaged with members for the community during market day in order to test the ideas and get opinions.
Laser cut prototype showing one of the patterns.
Before going to the laser cutters I got a prototype made in MDF and took this to the client for their sign off. From this small model they were able to gain an insight as to how the laser cutting works - I did paint it too but didn’t take a photograph!
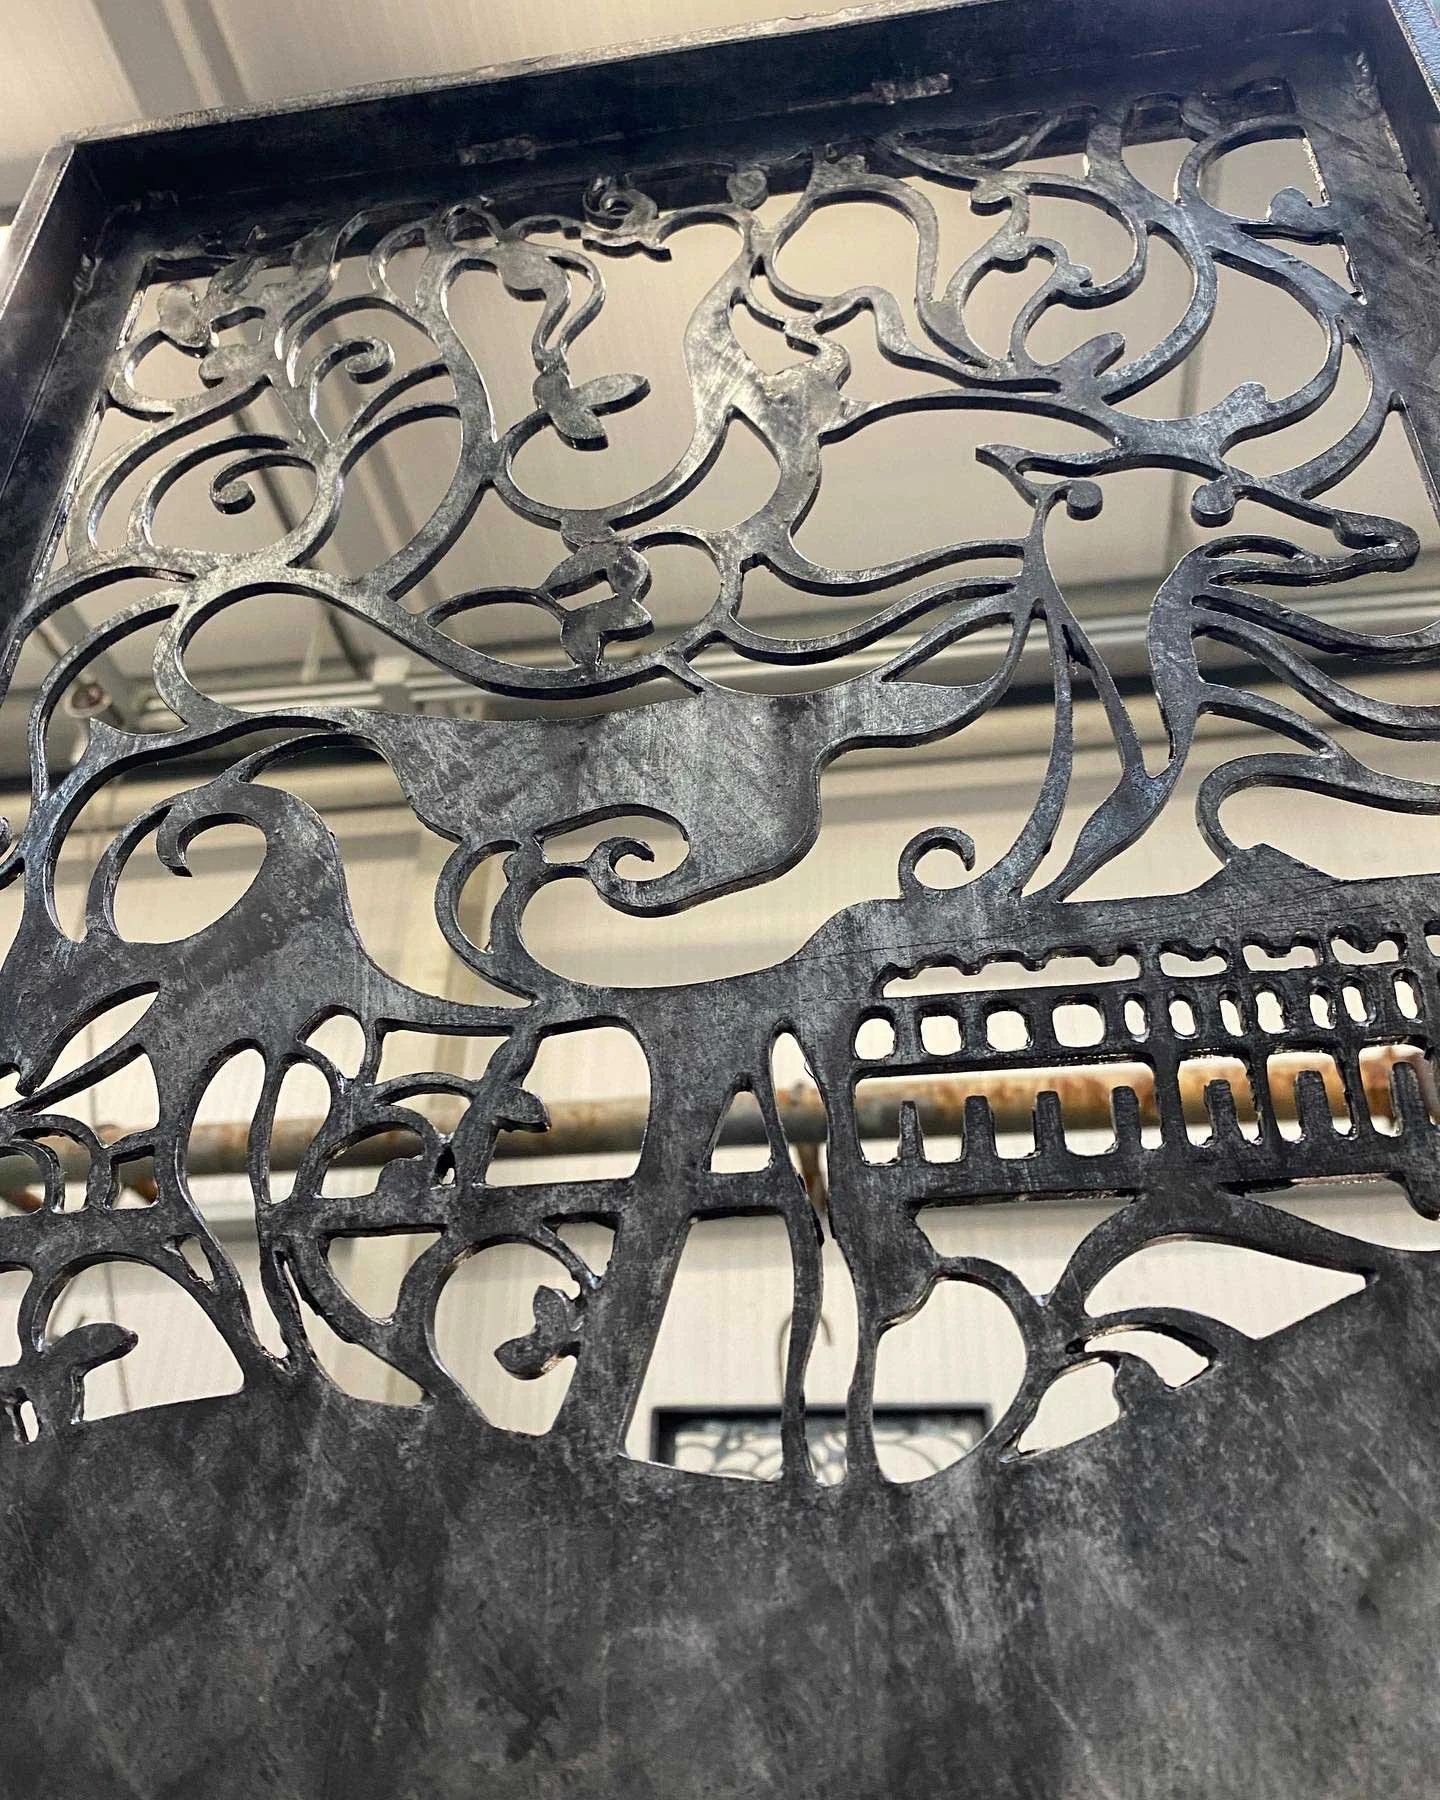
As the project progresses through the workshop of CBARTS we check off the structures and worked with the fabricator - Chris Brammall - to agree the finish and fixing methods. The laser cutting is all done and Chris’ team ensure that the sharp bits are filed and smoothed. I particularly love the lacquer finish that Chris has applied to the galvanised steel.


